

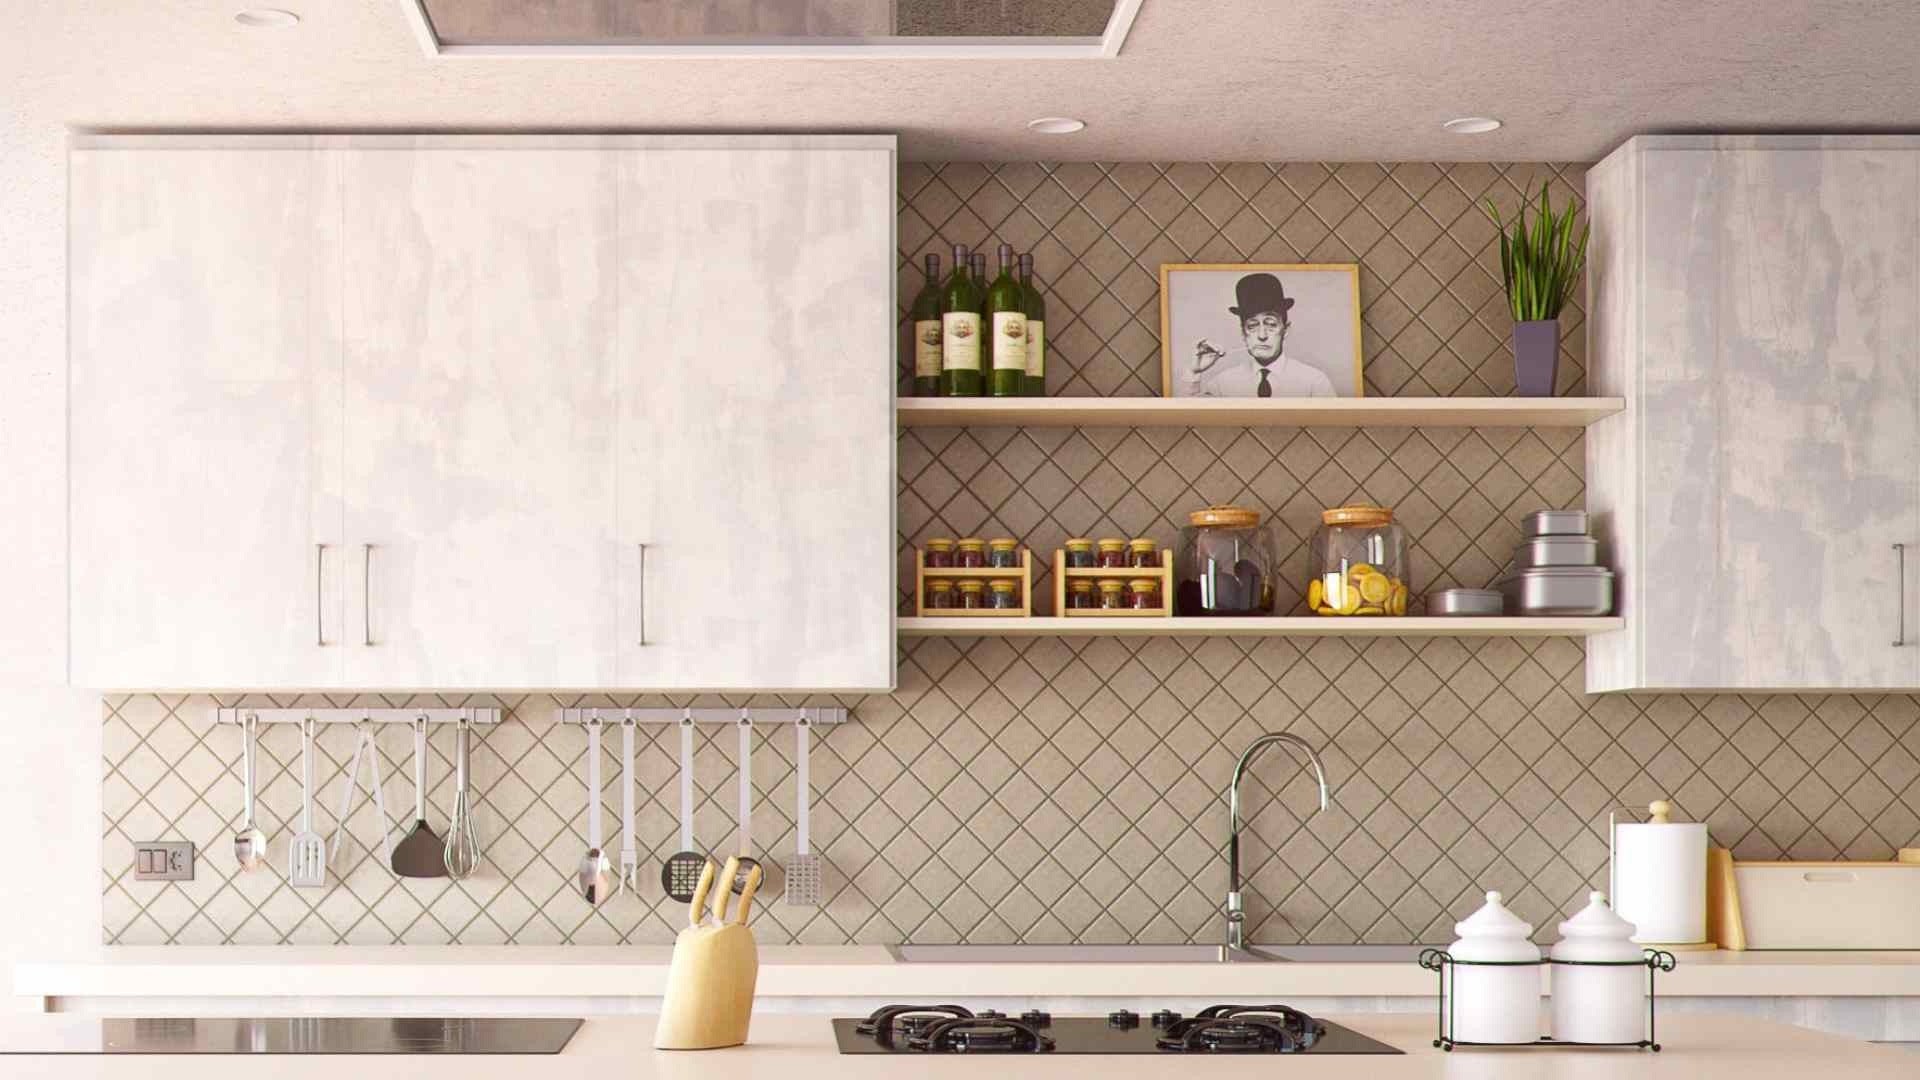
Feeling uninspired by the appearance of your run-of-the-mill RV and looking to add a personal touch that truly reflects your unique personality? Adding a customized backsplash to your RV is an affordable and risk-free project that can make a significant impact, transforming your factory RV into your own personalized home.
What you'll need
You'll need a few essential supplies. When it comes to the backsplash, we recommend opting for high-quality vinyl. This will give you a wide range of design choices to match your taste. Additionally, make sure to have suitable adhesive on hand. Since typical peel-and-stick options may not withstand the temperature variations commonly experienced in an RV, it's advisable to use extra adhesive for added durability. Apply basic wallpaper paste for vinyl backsplash from a roll and employ small amounts of construction adhesive on the edges of peel-and-stick tiles to prevent them from peeling.
Additional supplies
- Scissors
- A razor blade
- Tape measure
- Pencil
- Cleaning supplies
- A squeegee

Installation process:
Step 1: Find Your Center
Grab your tape measure and locate the center of the wall you are working on. Use your pencil to draw a line down the middle. This centerline will serve as your guide for aligning the first pieces of the backsplash. Working from the center and out help will ensure a well-balanced appearance of your backsplash.
Step 2: Cut and Test Fit
Before you start to put the backsplash on your wall, take a moment to dry fit the first few pieces, this will help give you a visual of how the area will look once completed without having to commit to putting the pieces on just yet. Make sure the tiles are straight, in line with the centerline, and aesthetically pleasing to you. If you're using a vinyl roll, measure the desired height, add 0.5 inches, and cut the backsplash accordingly. Repeat this process for two lengths and then test fit them against the centerline.
Step 3: Place Your Tiles
Now that you've determined the perfect spot for your first pieces, it's time to bring your vision to life by sticking them to the wall. Start by peeling off the top backing of the backsplash, revealing its sticky surface. Carefully position it in alignment with the centerline you drew earlier, and as you do, slowly remove the remaining backing while firmly pressing the tile onto the wall. Remember, if you're working with a vinyl sheet, be sure to leave a small 0.25-inch gap at both the top and bottom. To ensure a flawless finish, employ a trusty plastic squeegee to smooth out any pesky bubbles or wrinkles that may appear. Patience is critical here, so take your time and avoid rushing the process. If you're not completely satisfied with the tile placement, don't fret—simply lift them gently and make any necessary adjustments until you achieve the desired look. Your dream backsplash is taking shape!
Step 4: Cutting the Tiles in Place
Grab a utility knife to trim the excess vinyl backsplash and tackle tricky areas like outlets, cabinets, or corners. Using the knife, carefully maneuver the blade along the edges, cutting away any unnecessary material. Take your time and exercise caution to achieve a polished and professional finish.
Step 5: Repeat
Continue placing tiles or vinyl sheets until the entire designated area is covered. If you notice any edges that don't meet your expectations, you can easily fix their appearance by trimming them with quarter-round molding. Not only will this provide a polished and finished look, but it will also help prevent any edges from peeling up over time.

Want to remove your backsplash?
Step 1: Heat it up
Begin by gently warming up the existing backsplash using a hairdryer or heat gun. The heat will help loosen the adhesive, making it easier to remove. As you warm it up, carefully pry the backsplash away and pull it off slowly, ensuring you keep the area warm throughout the process.
Step 2: Get Rid of the Residue
Once the old backsplash is completely removed, you may notice some sticky residue left behind. Don't worry; we've got a solution for that. Grab a degreaser or trisodium phosphate (TSP) to clean off the remaining adhesive. If the residue proves stubborn, consider using an adhesive remover specifically designed for this purpose.
Step 3: Prep Area for new Backsplash
With the adhesive successfully removed, it's time to prepare the area for your brand-new backsplash. Take your chosen degreaser or TSP and scrub the surface thoroughly, ensuring it's clean and free from any adhesive residue. This step is crucial in achieving a strong bond with your new backsplash. Inspect the area for any imperfections or rough patches. Should you come across any, grab some sandpaper with a grit of 220 or similar and gently smooth them out. Once you've finished sanding, give the area a quick wipe-down to remove any lingering dust or debris.
Now that you've completed the necessary steps to remove the old backsplash and prepare the area, you're all set.
________________
We hope you enjoyed this simple but effective RV DIY modification. If you decide to try it out for yourself, tag us in your pictures on socials: @RVLock on Instagram, Facebook, TikTok, and YouTube. Comment on what other modifications you have done to your RV!
See you on the road!
Share:
15 Farms Where You Can Camp With Your RV
Mastering RV Towing: Essential Gear You Need to Know