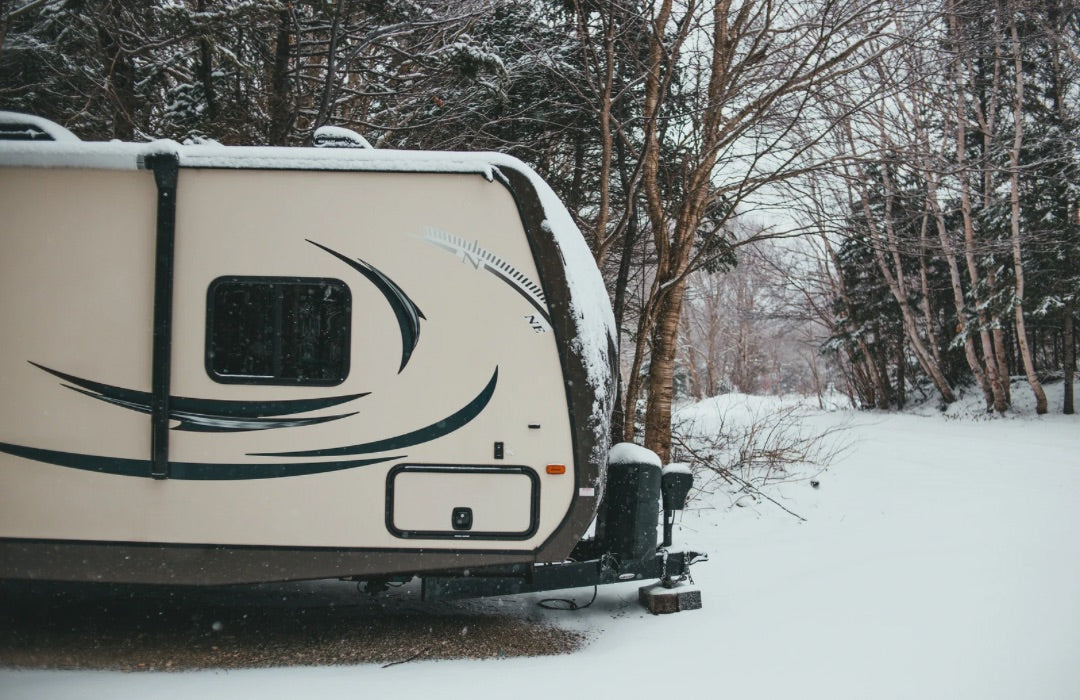
As the days grow shorter and temperatures drop, it’s time to start thinking about winterizing your RV. Whether you’re storing your rig for the off-season or preparing for cold-weather camping, winterizing is one of the most important maintenance tasks you’ll do all year. Neglecting it can lead to costly repairs like burst pipes, water damage, and ruined appliances.
The good news? With the right steps, you can winterize your RV in an afternoon and keep it safe until spring. Let’s go through the process step by step.
If you’re already an RVLock owner, read our guide on How to Prep Your RVLock Handle for Cold Weather.
Step 1: Drain and Bypass Your Water System
The number one threat to your RV during winter is frozen water lines. Start by draining all the water from your system:
- Drain the fresh water tank.
- Open the low-point drains to remove any remaining water in the hot and cold lines.
- Empty and flush the black and gray water tanks. Use an RV-safe tank cleaner to prevent odors and residue buildup.
- Bypass your water heater. Most RVs have a built-in bypass valve; if yours doesn’t, install a bypass kit to prevent antifreeze from entering the water heater tank.
Step 2: Add RV Antifreeze
Once the system is drained, it’s time to pump in non-toxic RV antifreeze (the pink stuff, not automotive antifreeze).
- Connect a hand pump or use your RV’s water pump to draw antifreeze into the lines.
- Open each faucet (hot and cold) one at a time until you see pink fluid flowing out. Don’t forget the shower, outdoor shower, and toilet.
- Flush the toilet until you see antifreeze in the bowl.
- Pour a bit of antifreeze down each drain and into the P-traps to keep them from freezing.
💡 Pro Tip: You’ll usually need about 2-3 gallons of RV antifreeze for a standard rig.
Step 3: Prepare the Interior
Moisture and pests can sneak in over the winter, so take a few preventative steps inside:
- Clean the fridge, freezer, and cupboards thoroughly.
- Prop open the fridge and freezer doors to prevent mold.
- Remove all food and anything that could attract rodents.
- Leave cabinet doors open to allow warm air to circulate around plumbing.
- Consider moisture absorbers or a small dehumidifier if storing in a humid climate.
-
Read our full guide on How to Manage Moisture and Condensation in your RV
Step 4: Protect the Exterior
Your RV’s exterior needs attention, too.
- Wash and wax the exterior to protect the paint.
- Inspect and reseal windows, doors, and roof seams.
- Cover your tires or use tire cradles to prevent flat spots.
-
If storing outside, use a breathable RV cover, it’ll protect against UV rays and moisture while allowing airflow.
Step 5: Battery and Engine Care
If you have a motorhome or generator, proper engine care is crucial.
- Disconnect and remove the batteries; store them in a cool, dry place.
- Keep batteries charged throughout the winter to prevent sulfation.
- Fill the fuel tank and add a fuel stabilizer. Run the engine for a few minutes to circulate it.
-
Change the oil and filters before storage, old oil can contain contaminants that cause corrosion.
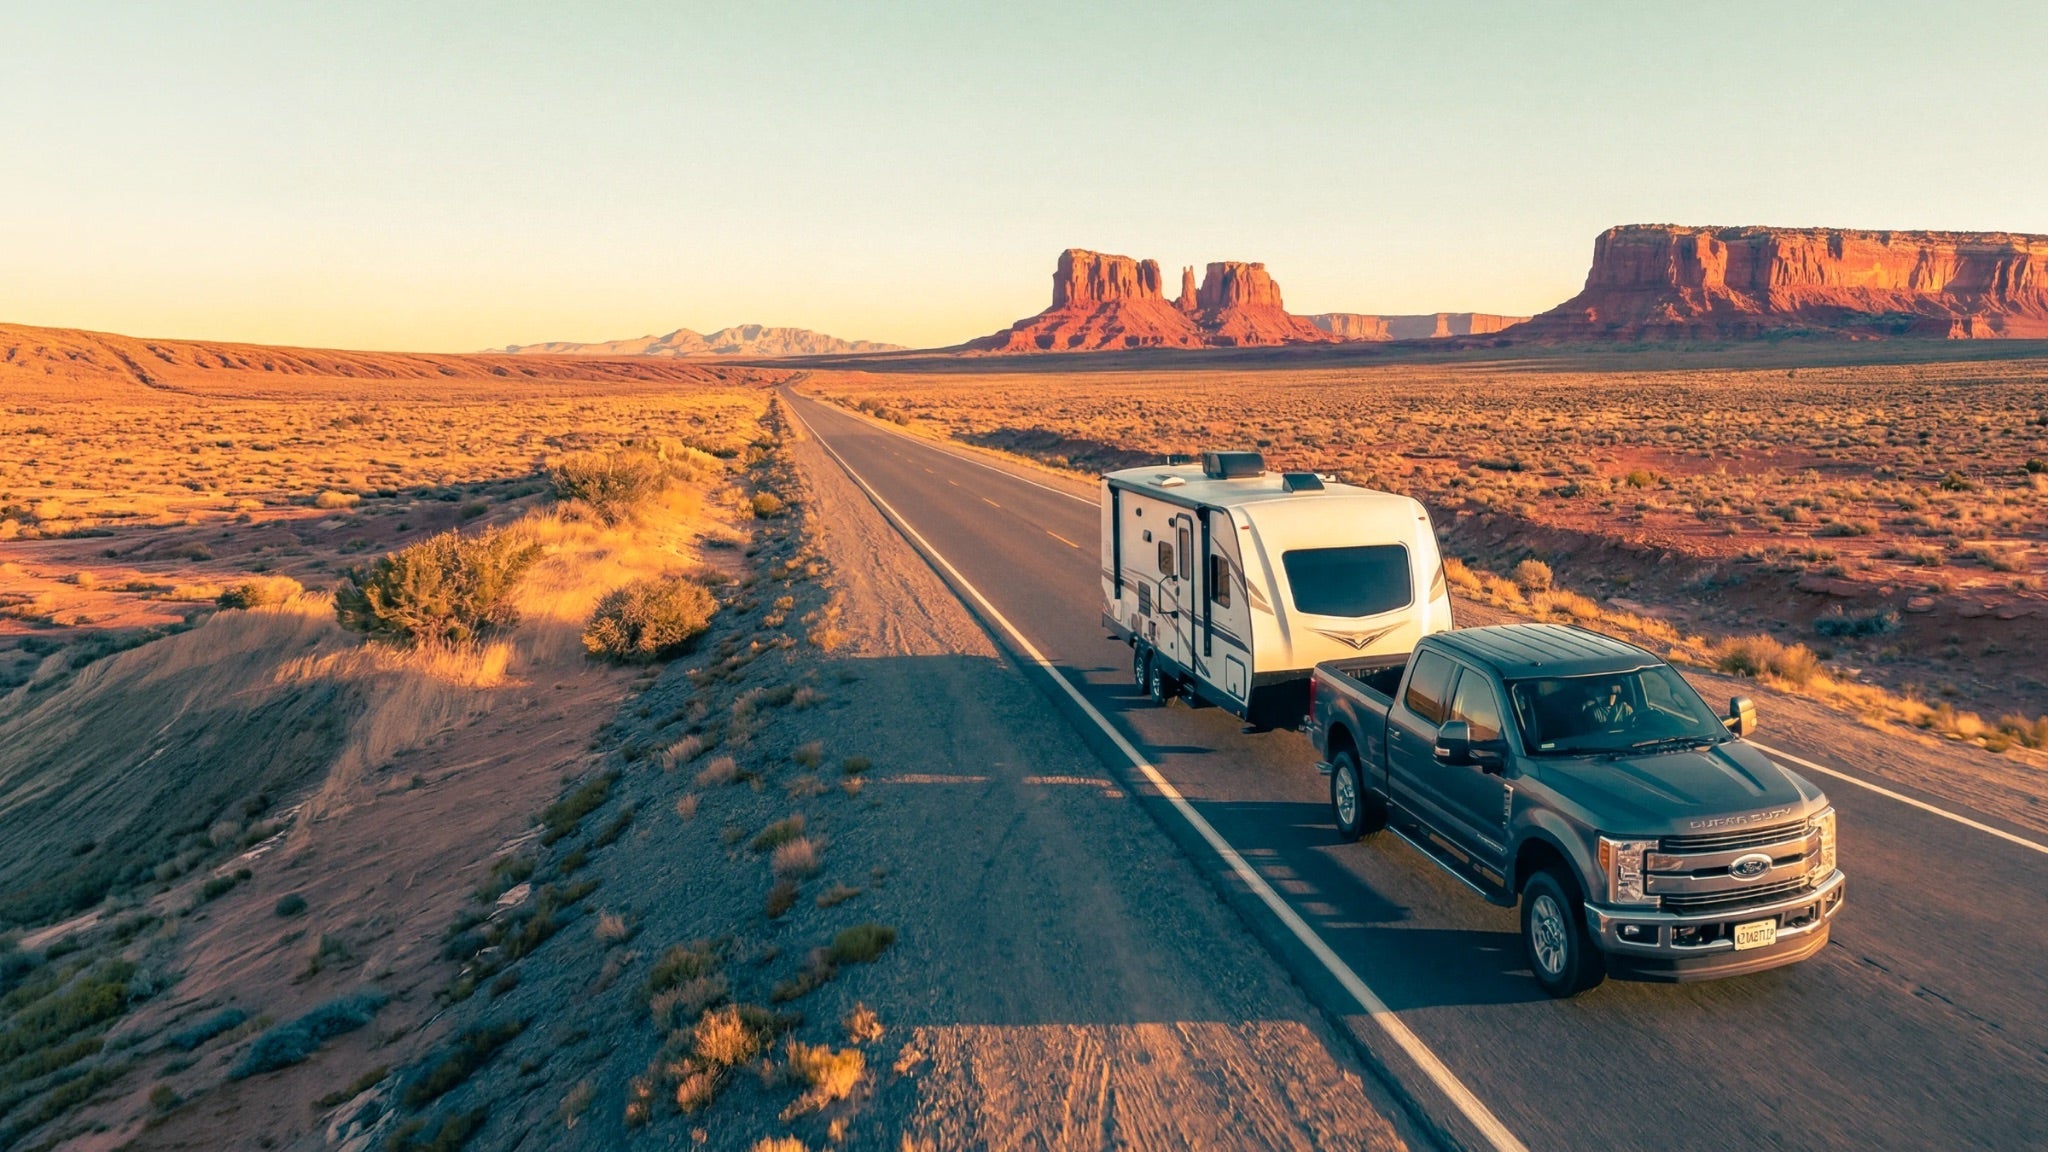
Bonus: Cold-Weather Camping Tips
If you’re planning to use your RV in winter rather than store it, take a few extra precautions:
- Install heated water hoses and tank heaters.
- Skirt the base of your RV to block cold air.
- Use a small space heater (safely!) to supplement your RV’s furnace.
-
Keep cabinet doors open to prevent plumbing from freezing.
Winterizing your RV might seem like a hassle, but it’s far less trouble than repairing frozen pipes or water damage come spring. With these steps, you’ll protect your investment and ensure your RV is ready to roll when the weather warms up again.
So grab a few gallons of antifreeze, a couple of tools, and spend an afternoon giving your RV some cold-weather care, your future self (and wallet) will thank you.
See you on the road!

Share:
7 Cold Weather RV Destinations to Visit This Winter
New RV Habits to Start in 2026