

If you're leaving on an RV adventure, one of the first things you'll need to master is setting up your RV utilities and hookups. Doing so may seem daunting, but in this guide we’ll walk you through the process step by step to ensure that you have a worry-free experience on the road.

Before You Begin
Before you start setting up your RV utilities, it's crucial to have the right equipment and supplies on hand. Here's a checklist of essentials:
- RV Hookup Cables: Ensure you have the appropriate length of power cord, water hose, and sewer hose for your RV. It's a good idea to carry extensions just in case.
- Surge Protector: Invest in a quality surge protector to safeguard your RV's electrical system from power surges at campgrounds.
- Water Pressure Regulator: This device prevents high water pressure from damaging your RV's plumbing system.
- Chocks and Leveling Blocks: These tools help stabilize and level your RV.
- Gloves and Sanitary Supplies: Disposable gloves and sanitation products are essential for handling sewage connections.
- Adapters: Depending on the campground, you may need adapters for different types of electrical outlets.
Setting Up RV Utilities: Step by Step
- Choosing a Campsite
Select a campsite that matches your RV's comfort and size requirements. Ensure it has the necessary hookups: electricity, water, and sewage.
- Parking and Leveling
Park your RV on a level surface if possible. Use leveling blocks and chocks as needed to ensure stability. An unlevel RV can cause issues with your utilities.
- Electrical Hookup
- Turn Off the Main Breaker: Before plugging in, and consider turning OFF your RV's main breaker to avoid electrical surges when connecting.
- Connect the Power Cord: Plug your RV's power cord into the campground's electrical pedestal. Use a surge protector between the cord and the pedestal.
- Turn On the Breaker: Once connected, turn ON the main breaker in your RV if you shut it off.
- Water Hookup
- Use a Water Pressure Regulator: Attach the water pressure regulator to the campground's water source.
- Connect the Water Hose: Connect your water hose to the regulator, and then attach the other end to your RV's water inlet.
- Turn On the Water: Slowly open the campground's water valve to avoid sudden pressure changes.
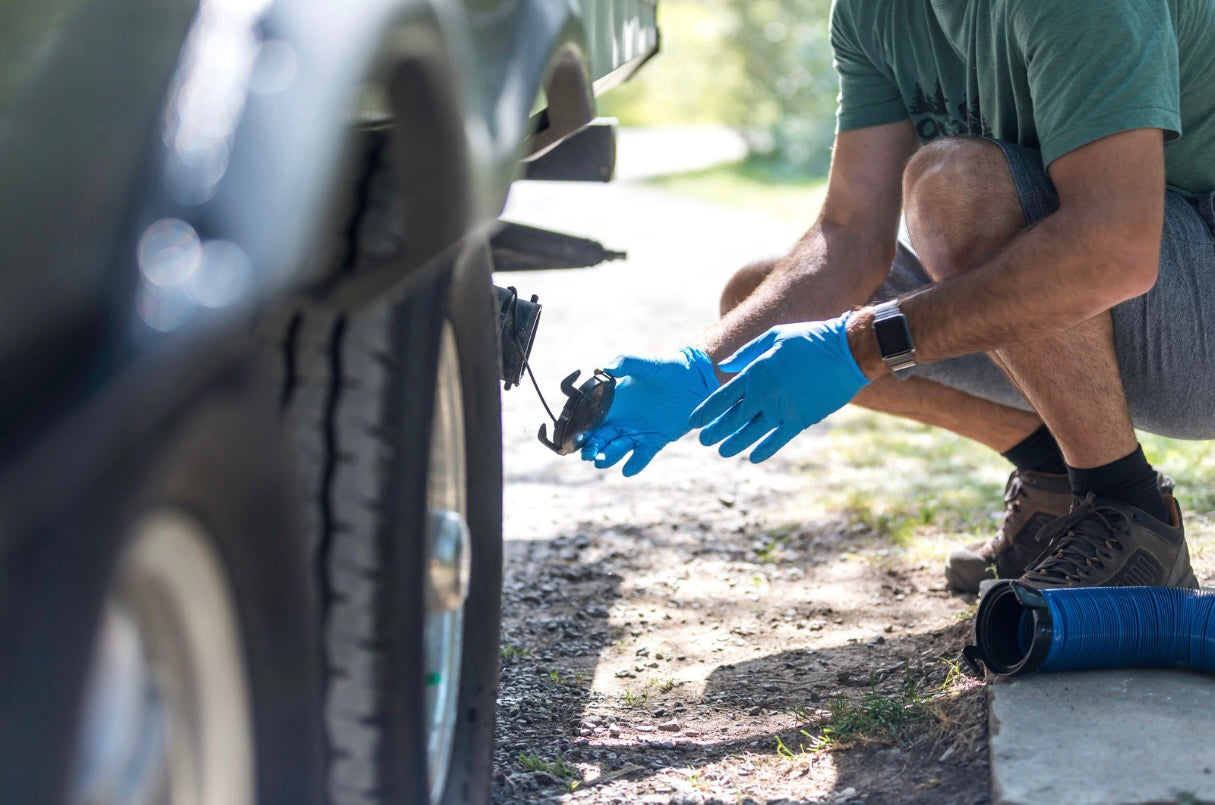
- Sewage Hookup
- Wear Gloves: Put on disposable gloves for this step.
- Connect the Sewer Hose: Attach one end of the sewer hose to your RV's sewage outlet and the other end to the campground's sewer connection.
- Create a Slope: Ensure the hose slopes slightly downward toward the sewer connection to allow proper drainage.
- Open Valves Carefully: Open the black water valve (for sewage) first, followed by the gray water valve (for wastewater from sinks and showers). This helps rinse the hose properly.
- Rinse and Close Valves: After emptying your tanks, close the valves and rinse the hose with a dedicated water hose or a designated rinse hose at the campground. Keeping the valves closed between dumping will ensure that any sewage gasses stay outside your RV.
Safety Tips
- Always follow campground rules and guidelines.
- Regularly inspect your RV's utilities for wear and tear.
- Test all connections for leaks before fully setting up.
- Keep your RV's manuals handy for reference.
- Never leave sewage valves open continuously; only do so when dumping tanks.
By following these steps and safety tips, you can set up your RV utilities and hookups safely and efficiently, ensuring a comfortable and enjoyable journey on the road. Remember that practice makes perfect, and over time, you'll become a pro at RV setup.
See you on the road!
Share:
5 Scenic Drives in the U.S. to Do in Your RV
8 Exercises You Can Do Outside of Your RV