Before hitting the road for your next RV adventure, don’t overlook one of the most important components of your rig—your RV battery. Whether you’re a weekend warrior or a full-time RVer, proper battery maintenance can make or break your travel experience. Dead batteries can lead to unexpected delays and costly repairs, especially when you're far from help.
Here’s your easy RV battery maintenance checklist to ensure a safe, smooth, and stress-free journey.
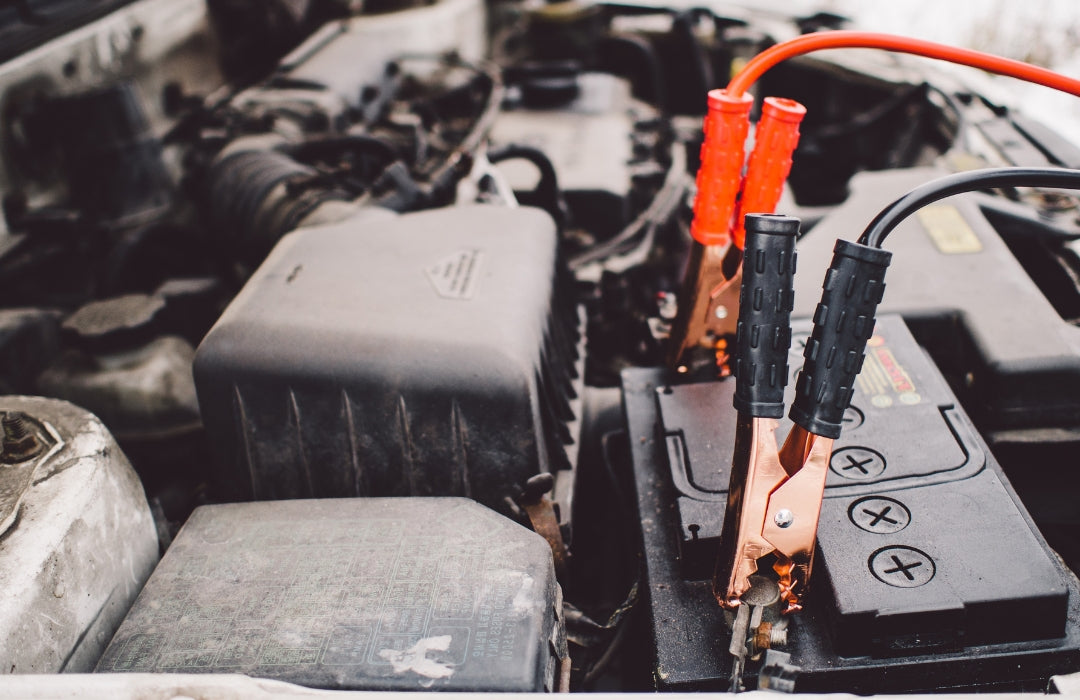
1. Inspect the Battery Condition
Before anything else, visually inspect your RV battery. Look for:
-
Corrosion on terminals
-
Cracks or bulges in the case
-
Loose or frayed wires
-
Fluid leaks (for lead-acid batteries)
If you see any of these signs, it may be time to repair or replace your RV battery before traveling.
2. Clean the Battery Terminals
Corrosion buildup can interrupt the electrical connection and cause issues with power delivery. To clean:
-
Disconnect the battery (negative terminal first)
-
Use a mixture of baking soda and water and a wire brush to scrub the terminals
-
Rinse with clean water and dry thoroughly
-
Apply dielectric grease to prevent future corrosion
3. Check the Voltage
Use a multimeter to check your RV battery voltage:
-
A fully charged 12V battery should read around 12.6–12.8 volts
-
Anything below 12.4V indicates partial charge
-
Below 12V means your battery is nearly dead
Consider recharging or replacing your battery depending on the reading.
4. Top Off Water Levels (Lead-Acid Only)
If you're using traditional flooded lead-acid batteries:
-
Carefully remove the vent caps
-
Check the electrolyte level
-
Add distilled water as needed—never overfill
-
Always wear protective gloves and eyewear
Note: Sealed AGM and lithium batteries do not require this step.
5. Test Charging System
Your RV’s battery charger or converter must be in good working order:
-
Plug your RV into shore power
-
Use a multimeter to see if the battery is charging (voltage should rise to 13.6V–14.4V)
-
If it’s not charging, the issue may be with your converter, solar system, or wiring
6. Recharge Fully Before Travel
Even if the battery seems fine, it's a good idea to start your trip with a fully charged battery. Use a shore charger, solar panel, or onboard generator to bring it up to full.
A battery that's only partially charged can degrade faster and may not last through the trip.
7. Store Properly When Not in Use
If you're not traveling immediately:
-
Disconnect the battery or use a battery disconnect switch
-
Store it in a cool, dry place
-
Use a battery maintainer or trickle charger to keep it healthy
This prevents deep discharge, which can permanently damage the battery.
8. Upgrade if Necessary
If your current battery isn’t holding charge or has trouble powering your RV systems, consider upgrading:
-
Lithium RV batteries offer longer life, faster charging, and better performance
-
AGM batteries are maintenance-free and spill-proof
-
Match your battery type to your travel style and power needs
A well-maintained RV battery is essential for powering your lights, appliances, and water pump. Regular checks and maintenance will help you avoid the frustration of battery failure and keep your adventures on track.
Looking for more RV tips?
Check out our related guides:
See you on the road!
Share:
Spring RV Maintenance Checklist: Get Your RV Road-Ready for the Season
How to Check and Reseal Your RV Seams: A Step-by-Step Guide